
Alright, so for this custom, I repainted the Classics Optimus Prime figure (american release). He's a REALLY nice figure, but the paint desperately needed some touch up. I decided to make him more G1 accurate, so he'd better match his appearance in the original Transformers TV show.
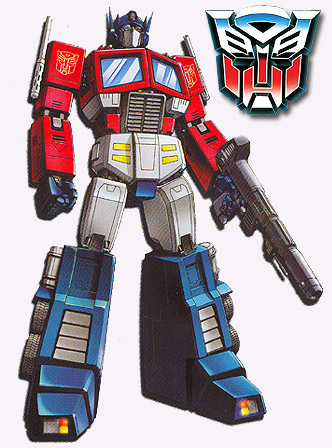
First off, here's a reference photo of the original 1984 G1 Optimus Prime. This is the version I tried to mimic as much as possible.


And here, he's been completely repainted. I covered the blue on his shoulders, the yellow on his arms, and the edges of the truck arm panels with red. Painted ALL grey areas with silver. Added silver to the pistons on the sides of his forearms, his knees, his forehead crest, and dry-brushed it over the grating on his shins. I also painted his hands blue. Another addition is the new smoke stacks on his shoulders. These are completely scratch built.


Left side view. Same details as mentioned on right side.


And here's a close up of the chest after painting was finished. I also added the yellow/gold rings on either side of his face and the Autobot symbol on his shoulder is a decal from reprolabels.
Now this figure is extremely detailed. So much so, that they even sculpted seating and a steering wheel behind the windshield. However, it was left a solid red plastic. So, being the completionist that I am, I took the figure's body apart and painted that inside detail as well. Here's the unpainted seating.


Now, one thing I thought this figure was missing were tail lights. So I went and made my own from scratch. What I did was cut a small square of styrene and then, using a hole-puncher I pushed a circle shape into the center.

Add a bit of paint and it works perfectly! In order to get that translucent look on the lights, I painted them in silver and then covered that with Tamiya "translucent red".

Full turn-around for your viewing pleasure.

And vehicle mode. Front view unpainted.

And the painted version. Front view. You can see here that I've added white striping between the headlights. I also gave the grating and bumper some much needed mud splatter with a wash of dark brown.

Right side view. One thing I really disliked about this figure's original paint sceme is the silver striping on the roof and siding. I completely removed the silver from the roof and repainted the entire side to better match the TV show.

Right side view. Here, I've replaced the horrid silver striping with a simple white stripe. It fit perfectly into a sculpted indent on the truck's side. Why Hasbro didn't do that in the first place is beyond me. I also added the Autobot symbol decal to the rear side panel. It's another decal from reprolabels. Oh yes, and I painted the entire roof a solid red with a wash of dark brown. And of course, it has the new smoke stacks.

Back view.
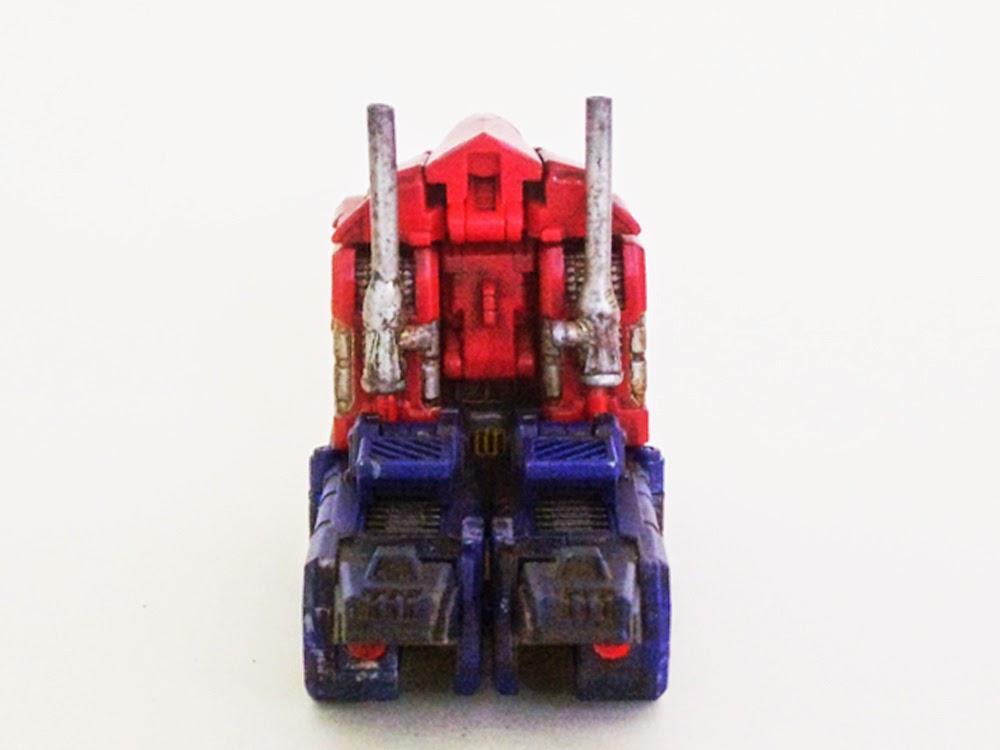
Back view. A better view of the scratch-built smoke stacks. They each have two different pegs (one for the shoulders and one for the back of the truck).

Left side view.


Underside view. I'm guessing that this is the reason for Hasbro painting the backs of his legs blue, since it matches the rest of the blue on the bottom.

Full turn-around for your viewing pleasure.

After looking at Optimus Prime's weapons, and not being terribly impressed, I went on the search for something better. Then I found this perfect G1 gun by 3rd party company Dr. Wu. Not only is it sculpted in a perfect G1 style, but it's also die-cast. It was already painted in gloss black so I simply added a silver wash to bring out all the panel lining.

Action pose!


