Pen and paper drawing. Black background added in Photoshop.
Showing posts with label photoshop. Show all posts
Showing posts with label photoshop. Show all posts
IT'S A TRAP!
Digital illustration. This was completely drawn in Photoshop using a Wacom tablet. A fitting tribute to Erik Bauersfeld who originally voiced Admiral Akbar and just passed away.
I also animated it in Adobe After Effects. All movable parts were drawn on separate layers in Photoshop so that they could be edited and moved in After Effects.
Caricatures
I haven't drawn in a while, so I decided to pick it up again. To start, I made some celebrity caricatures. Here's Ted Danson as he appeared on Cheers (Sam 'Mayday' Malone), and Jim Parsons as he appears on Big Bang Theory (Sheldon Cooper).
Conan Animated
I decided to turn my Conan art into a mini animation loop. So here it is.
Layers were cut apart in Photoshop, then the pic was animated in After Effects.
Layers were cut apart in Photoshop, then the pic was animated in After Effects.
Conan
So Conan O'Brien hosted an art contest for his show at San Diego Comic Con. I entered, and my art was actually featured on his show! The episode it was featured on aired on 7/10/15.
Here is the artwork I submitted. It's a digital drawing of his superhero character, "The Flaming C".
Here's a screenshot of my pic as it appeared in the episode.
Here is the artwork I submitted. It's a digital drawing of his superhero character, "The Flaming C".
Modded Lego Millennium Falcon
I've said it before, but I'm a BIG stickler for accuracy. So here's a look at my modded Lego Millennium Falcon. This is the second Falcon set Lego released, number 4504.
A TON of detail was added to the top. Almost all red "rust" pieces were added by myself in screen accurate locations. I also added printed tiles where the ship had damage, two at the back (one on each side) and a larger area between the front center piece and the cockpit.
The sides of the forward mandibles was originally hollow. So I added hinged pieces to the sides to fill that in and add a lot of mechanical detail. This is similar to how the newer 7965 Lego set does it.
I also borrowed the arm connection for the radar dish from the newer Falcon set.
I added these 1x4 tile pieces to each side of the ship to help hold the pieces together since the original ship had nothing there.
Here's a close up of the back with lots of added detail around the vents and various "rust" red pieces added in.
I also added a second turret to the bottom center of the ship (like in the movie) because the original set did not have anything there.
And now for the interior. This is the main room in the ship. The wall behind the chair was previously an escape pod that could launch out of the side. I secured that in place and built up the wall above it. So now it's part of the computer system.
Walls were added between the rooms/hallways just to separate things a bit. I used sloped pieces at the ends to simulate the angled entranceways that the ship has in the movies. Also, a small detail, but the tan hook on the wall to the right is where Obi-Wan stores the training helmet.
Here's the other side with the gaming table. I added an extra chair to the side so that the seating would curve around the table like in the movie. You can also see the added curved wall behind the seating.
And the back of the ship. Not much was changed here, although I did add a trap door in the floor on the left side. You know, for smuggling cargo... or people.
The trap door is hinged at one end and has two spouts/handles at the other. I had to raise the floor a bit here so that the figures could fit inside, but it works!
And I recreated an action scene from the movie for your viewing pleasure.
Labels:
models,
Photo manipulation,
photoshop
Electrical Blast
Just a bit of practice. Here's an animated GIF of a small blast effect. All drawn and animated in Photoshop.
Lego Y-wing
So Lego's 2nd Y-wing (set #7658) is, in my opinion, the best version that Lego has done. However, it still needed some upgrading. So here is my modded Lego Y-wing, complete with movie-accurate details.
The top pic is the original build. The bottom pic is my modded set. The main difference is in the top back section between the "wings". I also rebuilt the back of the cockpit.
The top pic is the original build. The bottom pic is my modded set. The main difference is in the top back section between the "wings". I also rebuilt the back of the cockpit.
Close up of the cockpit. I completely rebuilt the back end which previously sloped down right behind the pilot. Now, it continues back a bit with windows on the sides and back. The turret is now attached to the roof, but can still rotate. The other thing that I changed is the canopy. I actually repainted that with a solid white top and extra bars on the sides. Similar to what Lego did for the Ultimate Collector Series version, but for some reason, they didn't use that version of the canopy on the smaller sets.
Oh, and I replaced the R2 unit with an R5 unit.
Original build on the top, my modded custom on the bottom.
Here is the back side of the cockpit. Original build on the top, my modded custom on the bottom.
Here's a close up of the back detail. This section was completely rebuilt from scratch.
Photoshopped action scene!
Leo VS. Leo
Finally got back to drawing. Since the movie just came out a little bit ago, I decided to draw this comic image. Leo VS. Leo... of course, there's only one TRUE Ninja Turtle in this pic. haha So now you know what I think of the new TMNT movie... and of Michael Bay.
Inked.
Final color. This was colored in Photoshop which allowed me to add all the textures. I also corrected the angle of the guard on the sword.
Photoshop photo edits
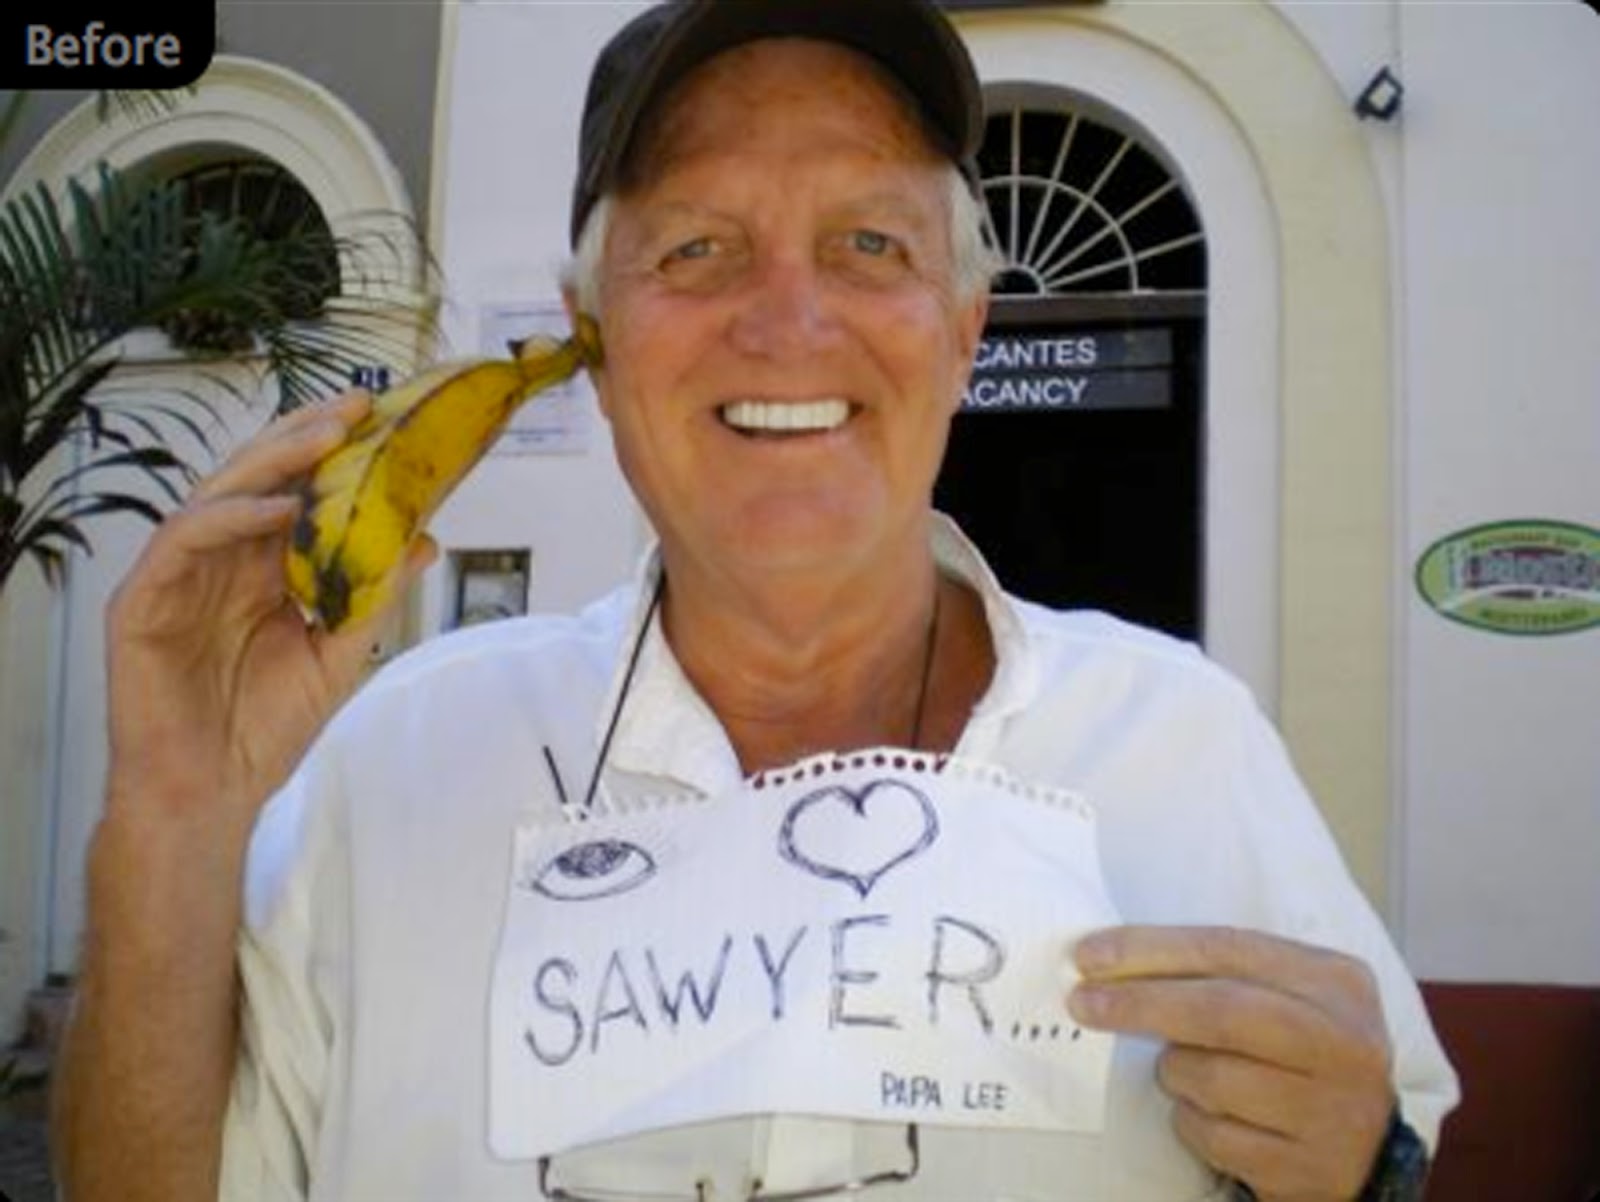
I did these for various customers via a website called PicPhix. However, the site has apparently expired since my last visit, so I'm posting my work on here now.
This one was a simple edit. The customer just wanted his chin thinned out a bit.
Same with this one. Double chin removal.
A bit more complex. She wanted herself to look less angry as well as a thinned chin.
This customer wanted himself to look 20 years younger as well as the removal of the name on the paper.
If these are your photos, and you do not want them visible on this site, send me an email and I will gladly take them down.
If these are your photos, and you do not want them visible on this site, send me an email and I will gladly take them down.
Labels:
Photo manipulation,
photoshop
Happy Anniversary! card
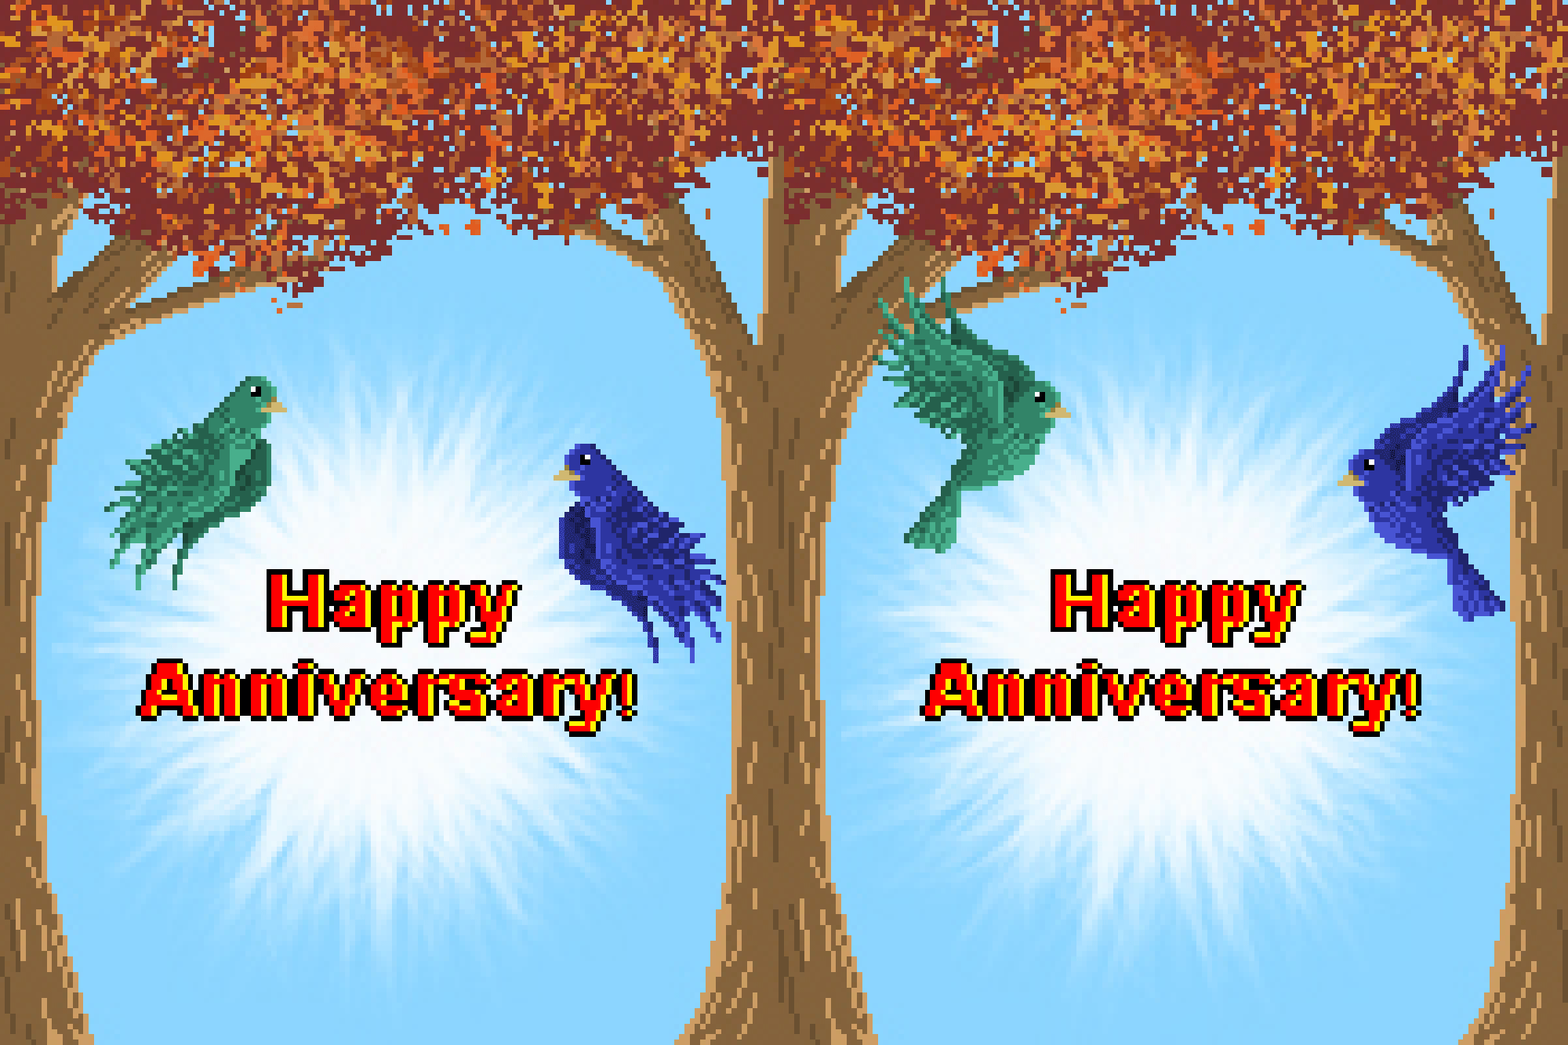
This is an anniversary card that I made for my parents on their 30th anniversary. All hand drawn pixel art. 150pixels wide and 200 pixels high. 2 frame animation.
Egon Spengler
Decided to get back to drawing... So I drew this freehand with no reference photos. Then I scanned it and colored it in Photoshop.
Cerebus The Aardvark
I was contacted by Mr. Simonsen of What Comics Entertainment a few years ago. He said he'd seen my work on Vimeo and wondered if I'd like to help animate a 3D animated film based on the comic book series Cerebus The Aardvark. He stated that it wasn't going to be a huge Hollywood budget film, but more of an Independent film that would stay true to the source material. Well, I've animated quite a bit for them now and it's getting close to being completed. Recently, I helped design the opening intro of the film.
Here's the intro I made for him posted on What Comics' youtube channel...
Cerebus Intro
I had made this background for the text and logo to stand atop of. This is a Photoshop composite of 2 different parchments with 2 different boarders edited together.
And here it is with the Cerebus logo.
Here's the intro I made for him posted on What Comics' youtube channel...
Cerebus Intro
I had made this background for the text and logo to stand atop of. This is a Photoshop composite of 2 different parchments with 2 different boarders edited together.
Turns out Mr. Simonsen liked the background so much, that he wanted one to be featured in the final version of the film. So I went to work making another parchment background that would be AOK for commercial use.
And here it is. This one was made by combining 7 different parchment images together. The boarder was drawn myself, but based off some sort of medieval mosaic pattern I found.
These were even featured on What Comics' own blog for the film.
Subscribe to:
Posts (Atom)


